
LXD
Configuration queries must return exactly one valid JSON object. Empty or whitespace-only output, multiple JSON documents, error responses and invalid field types stop the current initialization step instead of being treated as missing configuration to fill with defaults. This validation supports Debian 12 jq 1.6. Valid custom DNS, ipv4.nat=false and ipv6.address=none settings are preserved. If a query fails, inspect the daemon status and logs before retrying initialization.
The installer and panel initializer query pools and bridges in JSON, including LTS clients without the list -c option. Failed queries or invalid inventories are errors, not evidence of an empty environment. After installing btrfs/LVM/ZFS tools, initialization continues when kernel support is already available or the module loads successfully. Only unavailable modules retain a retry marker and trigger backend fallback; installing a package alone does not require a reboot.
nftables persistence also follows the distribution's service configuration: /etc/nftables.conf on Debian/Ubuntu/Arch, /etc/sysconfig/nftables.conf on CentOS/Fedora and /etc/nftables.nft on Alpine. Boot enablement follows the owned snapshot and include; failures return an error without starting or reloading the global policy. Uninstallation removes owned entries from all three standard paths. Custom service overrides or a custom rules_file require checking the actual boot configuration; automatic path selection covers standard packages.
Creation scripts attach a unique marker to each create operation and check it together with the instance UUID before rollback. Incus and LXD creation and batch scripts share one lock to protect logs and helper files; child builders inherit the parent's lock. Do not delete or recreate the same names through the panel or another CLI during a run: the daemon does not support conditional deletion by UUID, and external tools do not share this lock. If ownership cannot be verified, the script retains the instance and reports the problem for manual inspection.
For the common noninteractive=true flag, legacy aliases, interactive setup and network checks, see Interactive and Unattended Node Setup.
The installer's supplemental nftables/iptables NAT applies only to IPv4 traffic from lxdbr0 and respects ipv4.nat=false. LXD bridge settings control IPv6 routing and NAT; the installer no longer rewrites independent IPv6 through a host-wide dual-stack masquerade rule. Public IPv6 still requires an upstream route and separate external SSH and HTTP checks.
When migrating from iptables to nftables, the installer removes its exactly tagged NAT rules from both iptables-nft and iptables-legacy and from saved policies. Other rules, file permissions and symbolic links are preserved. Untagged legacy global MASQUERADE rules are retained because their ownership is unknown; inspect them before changing their intended use.
The firewalld fallback registers owned IPv4 NAT in both runtime and permanent configuration. Repeated runs, NAT disablement, migration to nftables and removal operate only on exactly identified rules without reloading all of firewalld. Existing bridge zones remain unchanged; only unassigned bridges enter trusted. Uninstallation removes a trusted reference only after the bridge is gone and preserves custom zones. Legacy global masquerade in the public zone is retained because ownership is unknown; check other networks before removing it.
Without firewalld, iptables persistence uses the distribution's standard file and boot service: /etc/iptables/rules.v4 on Debian/Ubuntu, /etc/sysconfig/iptables on CentOS/Fedora, /etc/iptables/iptables.rules on Arch and /etc/iptables/rules-save on Alpine. Package or service-enable failures return an error. Incus and LXD share a process lock for installer NAT configuration and uninstaller firewall cleanup, preventing these scripts from overwriting each other's firewall changes. The lock does not coordinate independent administrator or service changes.
The iptables fallback saves only the relevant IPv4 runtime snapshot to a temporary file in the same directory, then replaces the policy atomically after success. Save failures preserve the old file and return an error. Existing permissions, ownership and symbolic links remain intact; new files use mode 600. IPv6 persistence is not overwritten as a side effect.
If your host has no IPv6 subnet but you want to assign IPv6 addresses to containers, check the Customize section in the LXD module for Attach a free IPv6 address segment to the host, then attach an IPv6 subnet before installation.
Setting up virtual memory (SWAP) (optional, not required)
TIP
If your host has limited memory and enough free disk space, add swap to reduce OOM risk.
Unit conversion: Enter 1024 to generate 1G SWAP-virtual memory, virtual memory occupies hard disk space.
When the actual memory is not enough, the virtual memory will be automatically used for memory usage, but it will bring high IO usage and CPU performance.
For swap sizing guidance, refer to this guide.
| Physical Memory Size | Recommended SWAP Size |
|---|---|
| ≤ 2G | 2x memory size |
| 2G < memory ≤ 8G | Equal to physical memory |
| ≥ 8G | About 8G is sufficient |
| Hibernation needed | At least equal to physical memory |
The above values are only recommended settings, the actual value according to their own needs, do not blindly copy the value!
curl -L https://raw.githubusercontent.com/spiritLHLS/addswap/main/addswap.sh -o addswap.sh && chmod +x addswap.sh && bash addswap.shLXD One-Click Installation Guide
WARNING
If this is a new server, make sure that both apt update and apt install curl are working properly before executing this script.
TIP
It's recommended to wait for at least 5 minutes after the system boots up before executing the following commands. This is to avoid the script being executed by the default system settings, which could cause issues with apt sources.
- Prerequisites: Ubuntu 18+ (recommended), Debian 8+ (Incus more recommended)
- During installation, you will be prompted to enter the storage pool creation path as well as the size, and all the VMs or containers you want to open end up taking up space in the storage pool
- The server needs to be restarted after the environment installation process to load some default configurations
- By default, lxd's lxcfs-related configuration is enabled, so that in-container querying of container information changes to information about the container itself rather than the host
- This installer has been tested to work on either physical or non-physical machines
- For non-interactive installation, use
export noninteractive=truebefore the install command. The script will apply default choices for optional prompts
Command:
curl -L https://raw.githubusercontent.com/oneclickvirt/lxd/main/scripts/lxdinstall.sh -o lxdinstall.sh && chmod +x lxdinstall.sh && bash lxdinstall.shOR
bash lxdinstall.shNon-interactive example after downloading the script:
export noninteractive=true && bash lxdinstall.shExample of initialization configuration:
If you don't need to specify the path of a non-system disk as the default storage pool, then you can directly enter or type n when choosing whether to customize the storage pool path, and you don't need to specify the path.
If you need to specify the path of a non-system disk as the default pool, then you need to select y and enter the corresponding path (the actual absolute path of the disk you mounted).
If the corresponding disk has 18 Gigabytes of free hard disk space in addition to the occupied space and you want to open a 15 Gigabyte storage pool, follow the command line prompts to enter 15.
WARNING
If you plan to run more than 200 LXD containers on one server, this solution is not recommended. lxcfs drift can cause persistent I/O load that is hard to recover from. (This is an upstream LXC limitation.)
Uninstall LXD Environment
The uninstaller checks local projects first and stops before deleting instances if a non-default project exists. Migrate or remove those projects first. For the default project, profile references are detached before pools and managed networks are deleted. Inventory, detachment or deletion failures stop subsequent snap removal so that stranded mounts and bridges are not hidden.
iptables cleanup removes only IPv4 NAT rules tagged as owned by this script. Legacy untagged host-wide MASQUERADE and port DROP rules may be shared with other services and are preserved. Check their ownership and network dependencies before removing them manually.
One-click uninstall of the complete LXD environment, including all containers, VMs, images, storage pools, network configurations, systemd services, packages, and related configuration files:
Uninstallation removes LXD's persistent firewall rules and recorded storage mounts while preserving other applications' rules, includes and btrfs mounts. Host IPv4 forwarding remains enabled if already configured because other runtimes or routing services may share it. A failed LXD snap removal stops subsequent cleanup; resolve the error before retrying.
curl -L https://raw.githubusercontent.com/oneclickvirt/lxd/main/scripts/lxduninstall.sh -o lxduninstall.sh && chmod +x lxduninstall.sh && bash lxduninstall.shInstallation of WEB Control Panel
The customization section also includes guidance for enabling the official panel. Here we recommend a third-party panel instead, because the official panel prioritizes security over user experience in several workflows.
https://github.com/turtle0x1/LxdMosaic
Third-party panel:
sudo snap install lxdmosaicRun the one-click installation, then open https://<public IP address>/ on the host. Accept the browser warning if needed to enter the setup page.
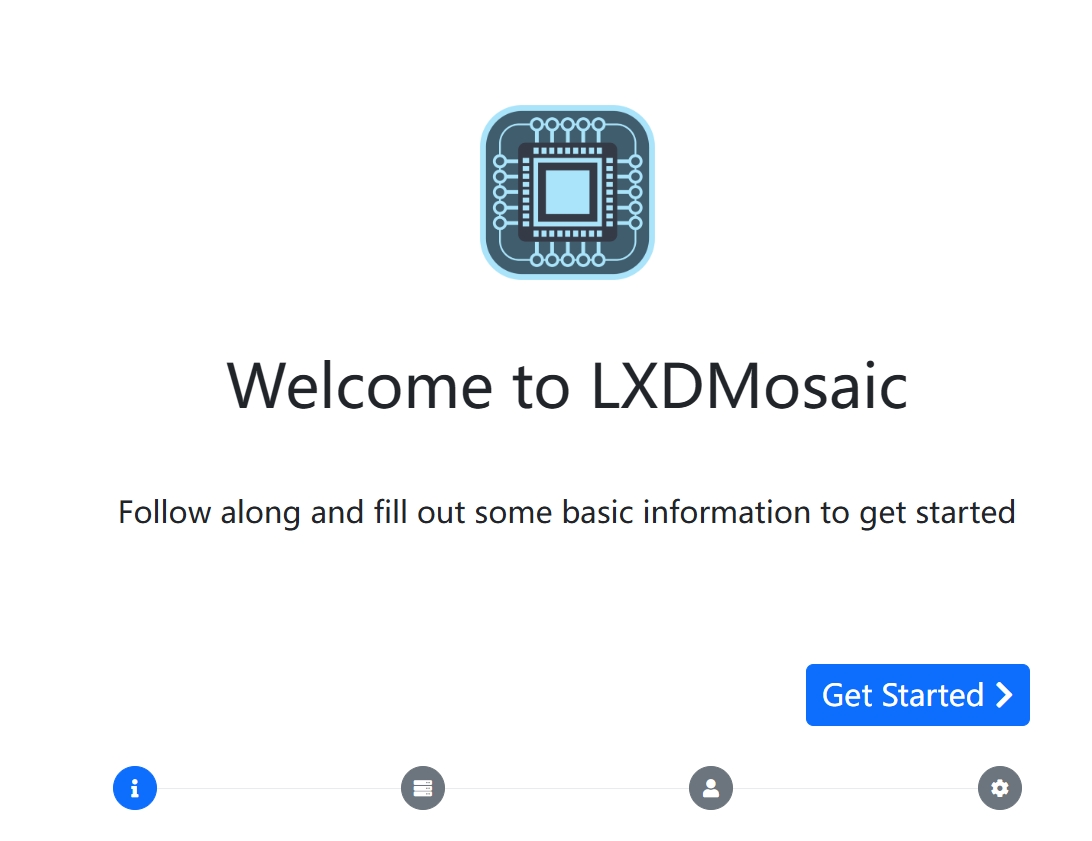
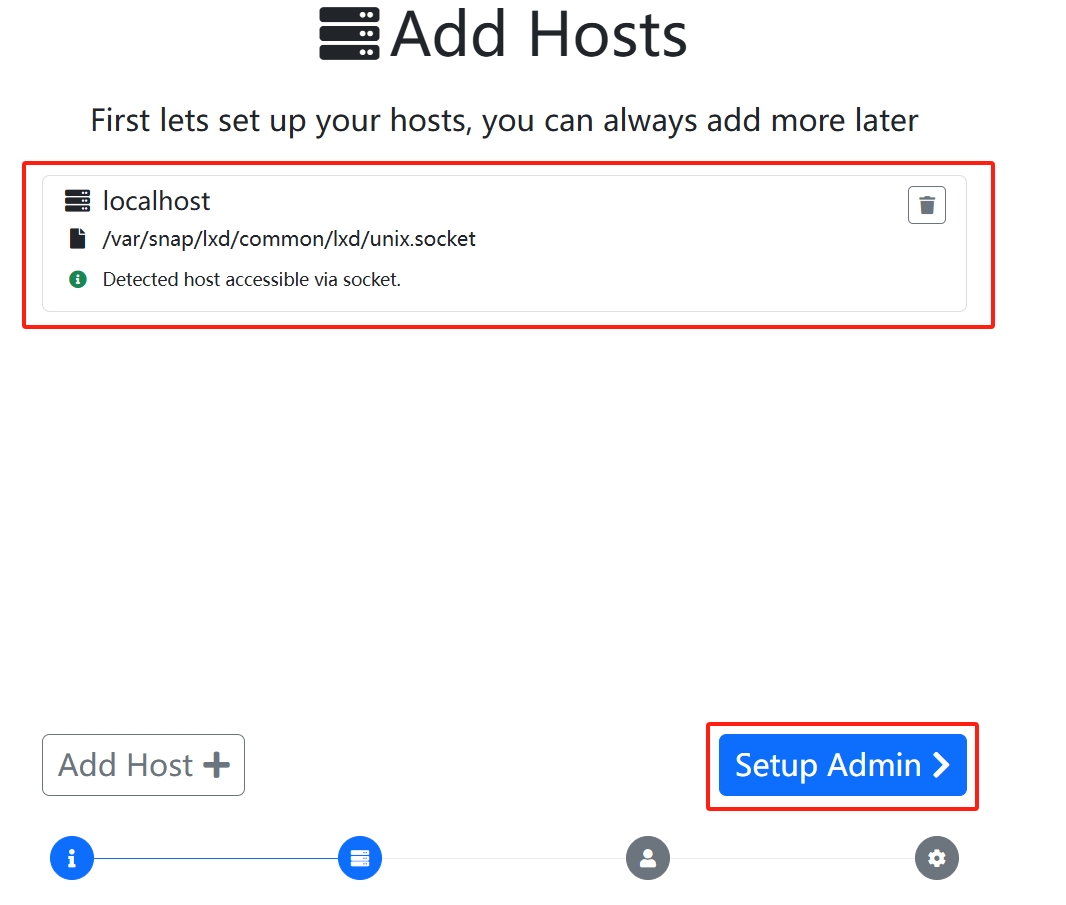
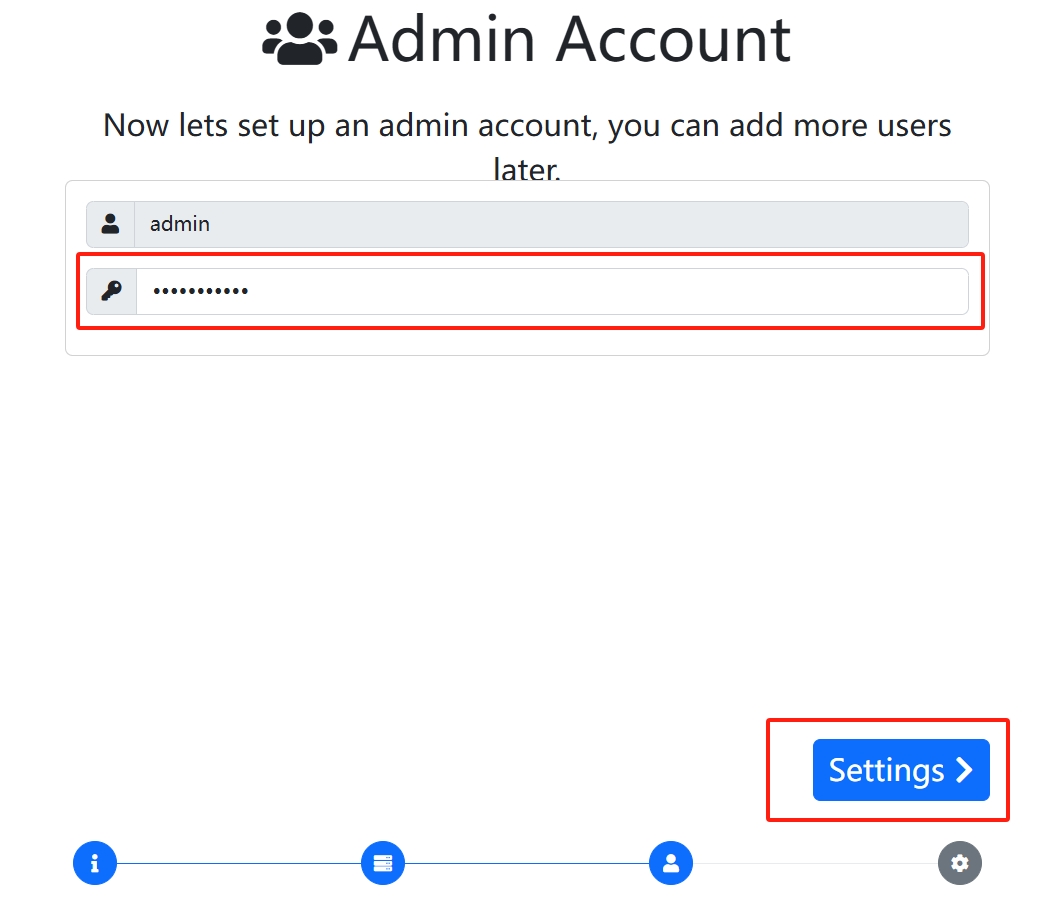
You can change this section if you want to customize the site name.
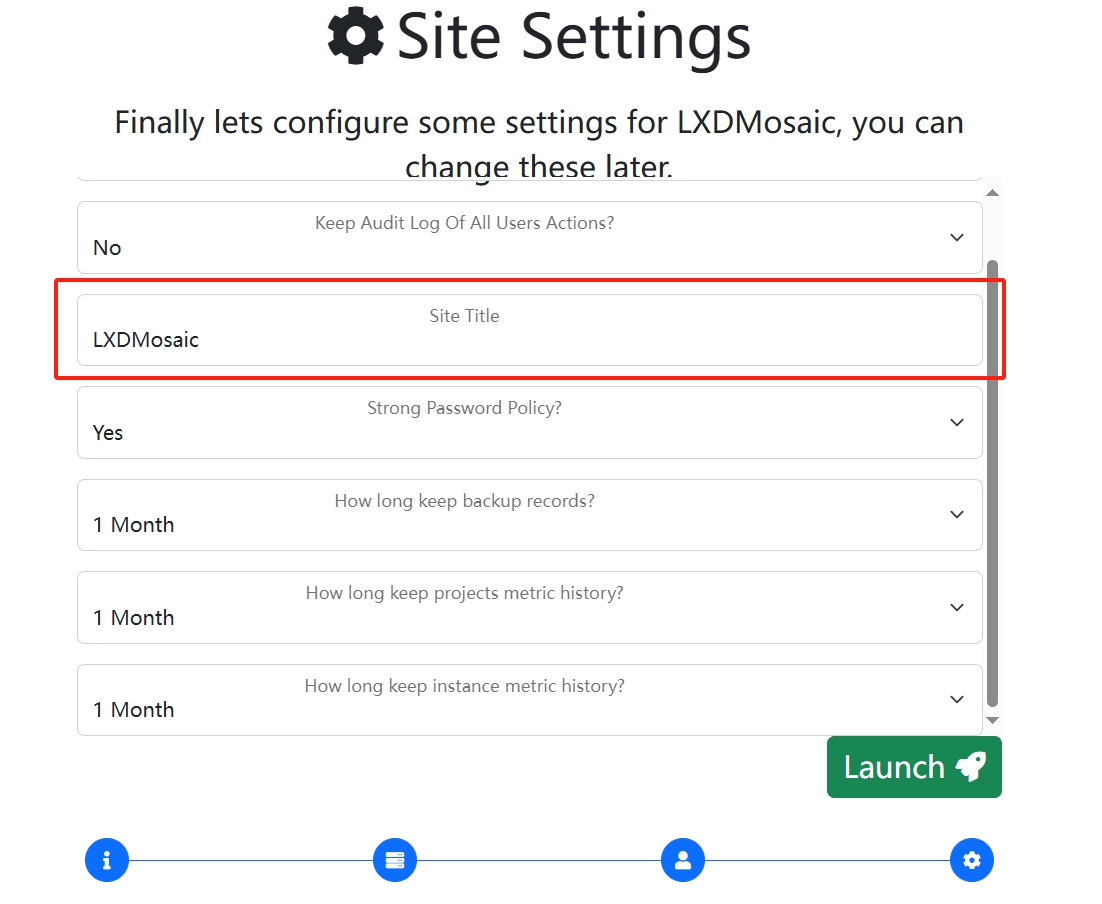
This panel is practical, but it does not provide complete RBAC-style sub-user isolation.
Manual installation (optional)
Not recommended for normal usage. Use it only when one-click scripts cannot run in your environment, or when you want to learn the base LXD installation process.
Disable Firewall
apt update
apt install curl wget sudo dos2unix ufw jq -y
ufw disableEnabling Virtual Memory SWAP
The amount of memory depends on how many instances you want to run. If you want to run 8 instances and calculate, you'll need 2GB of memory. If your actual physical memory is 512MB, you'll need an additional 1.5GB. To be cautious, allocate 2GB of virtual memory.
Execute the following commands: Enter '1', then enter '2048'. This signifies allocating 2GB of virtual memory.
Command:
curl -L https://raw.githubusercontent.com/oneclickvirt/lxd/main/scripts/swap.sh -o swap.sh && chmod +x swap.sh && bash swap.shInstalling LXD
Actually, the virtual memory allocated for swap should be twice the size of the actual memory. So, it's reasonable to allocate 1GB if the actual memory is 500MB. The scenario I described above is an excessive allocation.
apt install snapd -y
snap install lxd
/snap/bin/lxd initIf the following error occurs in the above command
(snap "lxd" assumes unsupported features: snapd2.39 (try to update snapd and refresh the core snap))
Use the command patch before installing lxd
snap install coreIf no errors occur, the result of the commands above should look like this:
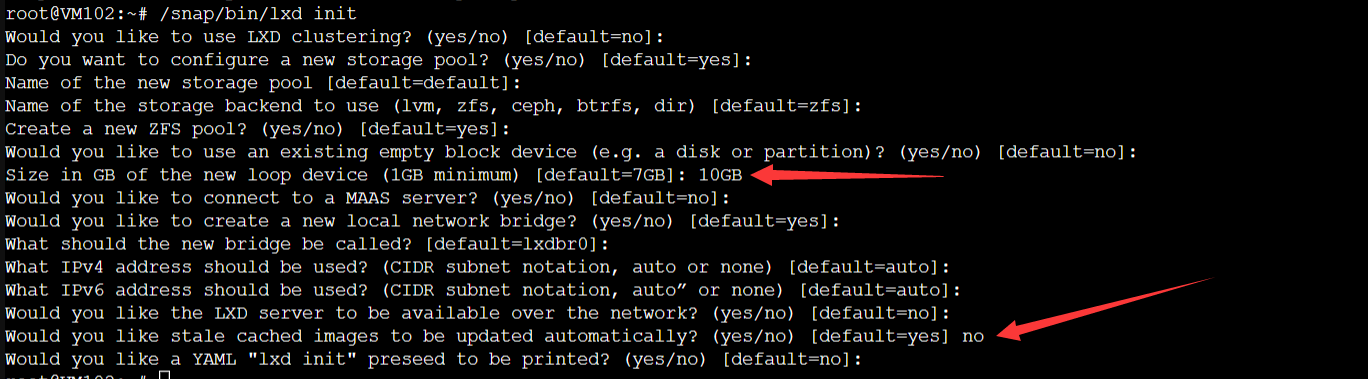
For standard options, keep the defaults.
Choose the size of the physical disk (hint: select the default option with a minimum of 1GB). Generally, I fill in the available disk space minus the memory size, then multiply by 0.95 and round down. Here, I entered 10GB.
When prompted about automatic image updates, choose no to avoid unnecessary resource usage.
Test whether symbolic links are functioning in LXC.
lxc -hIf an error is reported, run the following command to add an lxc alias:
! lxc -h >/dev/null 2>&1 && echo 'alias lxc="/snap/bin/lxc"' >> /root/.bashrc && source /root/.bashrc
export PATH=$PATH:/snap/binThen test lxc again to confirm it can be found.